Tutorial: Text flicker in After Effects (Free AEP File)

We’ll start posting bite-sized tutorials on our blog. This first one is quite simple but it can be the starting point to make interesting animations. You’ll learn how to make text (or any type of layer, really) flicker using the opacity property.
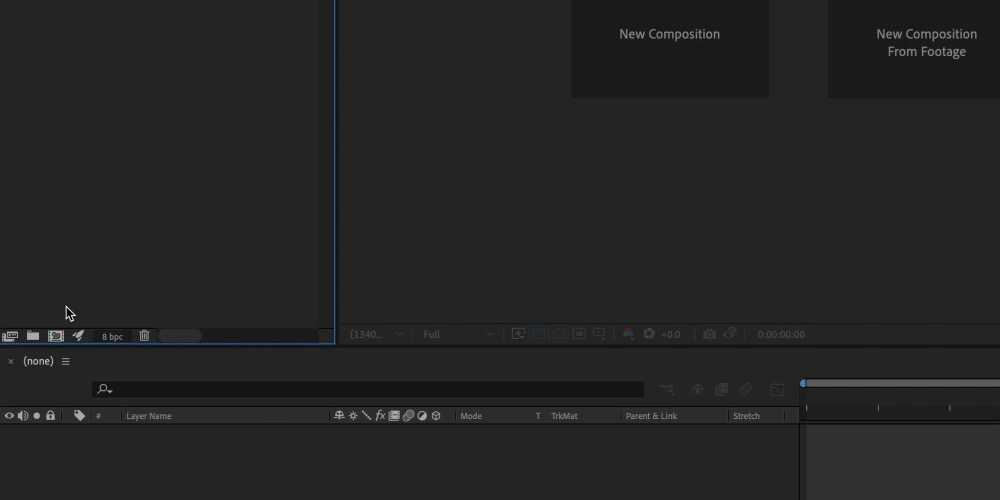
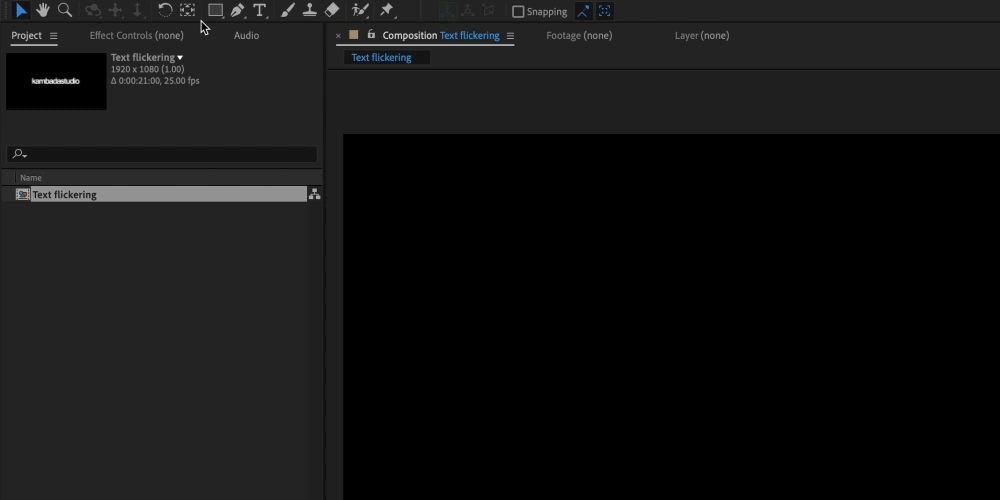
Step 1 - Create a new composition
Open After Effects, and make a new composition by clicking the New composition button in the Project panel.
Quick tip: You can also go to Composition and select "New composition".
Quicker tip: You can also use the shortcut CMD + N.
Step 2 - Create the text layer
Click the Text tool in the toolbar (or use CMD + SHIFT + T).
Click on the composition in the Composition panel and start typing the text you’d like to animate.
Quick tip: Centre a layer horizontally and vertically using the Align panel. Can’t see it? Go to Window and find an option called Align.
Step 3 - Animate the opacity
Go to the text layer (in the Timeline panel).
Click the chevron left of the red square to show its properties.
Click the chevron left of the word Transform. We can animate all these properties. A shortcut to get to the opacity quicker is T (for transparency) while you have the layer selected.
Add the first keyframe by clicking the stopwatch left of the word Opacity.
Move 2-3 frames and change the value to 0%. Do this a few more times.

Step 4 - Toggle hold frames
Select all the keyframes
While hovering one keyframe, right-click and select “Toggle Hold Keyframe”
This prevents the keyframes from animating from one value to another.

Additional exploration
This is a very simple effect, but it can be the foundation for something more complex.
Below, I did a quick iteration of the animation, where I:
Duplicated the original layer with the flicker.
Moved one of the layers a few frames.
Selected one of the layers, and swapped the fill with the stroke in the Character panel.
Now we have a flicker where the text seems to lose its fill and we can see its stroke.
Final notes
I skipped the bit where I create the solid black background colour. I did this by double-clicking the Rectangle Tool. Doing so, without any layer selected, make a shape the same size as your composition.
I skipped the bit where I copy and paste the initial flicker. To do that, you select the keyframes with your cursor and move the time marker (blue line in the timeline panel) to where you’d like the animation to repeat and paste it. It is a simple CMD + C and CMD + V.
I work with macOS, so for Windows, you’d change CMD with Ctrl.
Download this After Effects file for free